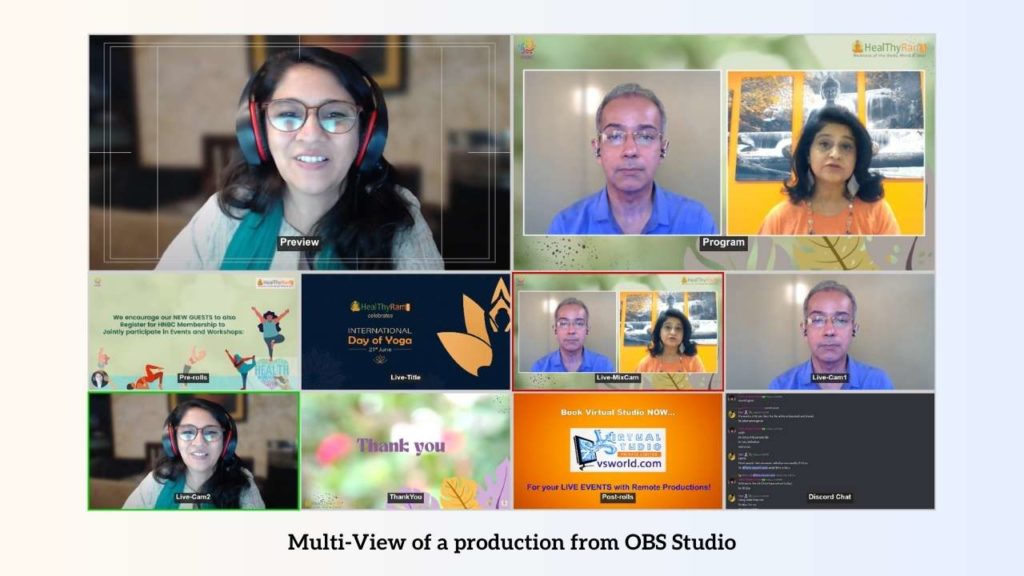
Introduction to OBS Studio
OBS Studio Guide: OBS Studio or Open Broadcaster Software Studio, is a name that resonates with anyone who has dipped their toes into the world of live streaming and video recording. This free and open-source software has become the go-to tool for content creators, gamers, and professionals alike, offering a plethora of features that make broadcasting a breeze.
The history of OBS Studio is a testament to the power of community-driven development. Launched in 2012 by Hugh “Jim” Bailey, OBS Studio started as a simple streaming tool designed to meet the needs of a growing live streaming community. Over the years, it has evolved into a robust software suite, thanks to the contributions of developers and users worldwide. The software’s development has been marked by a consistent focus on quality, flexibility, and ease of use, making it a preferred choice for both beginners and seasoned broadcasters.
Understanding the Basics of OBS Studio
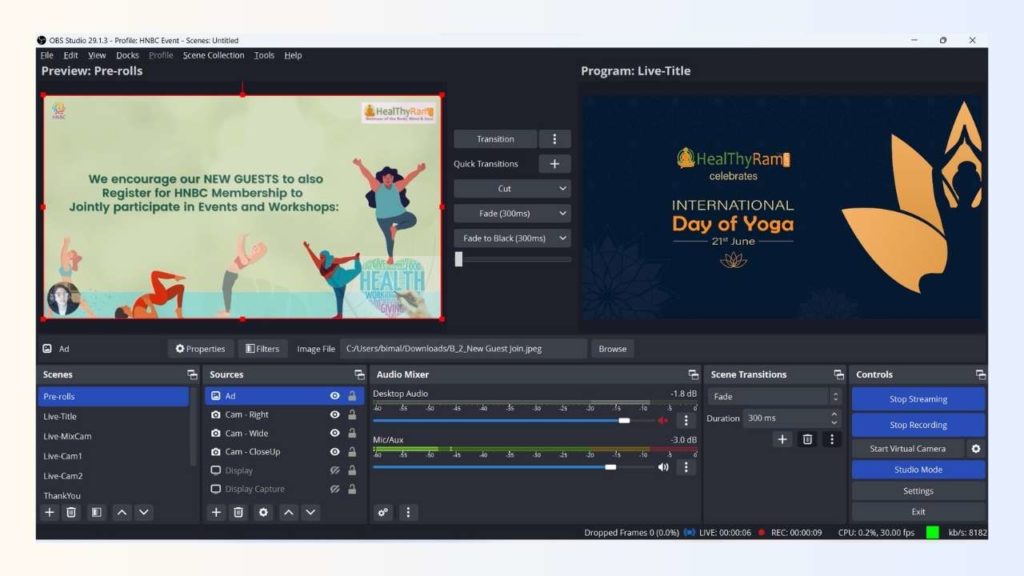
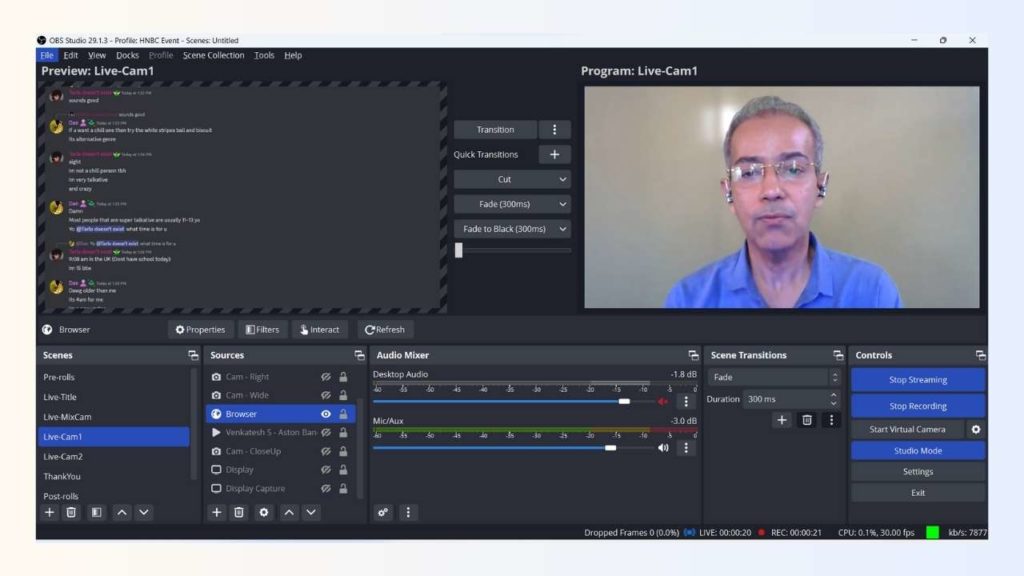
Before you dive into the world of live streaming with OBS Studio, it’s crucial to familiarize yourself with its interface and features. The OBS Studio interface is designed with a focus on functionality. It features a main window where you can preview your stream, a scenes panel to manage different broadcasting scenes, a sources panel to control audio and video inputs, and a mixer for audio management. It might seem overwhelming at first, but once you get the hang of it, you’ll appreciate the control and customization it offers.
The Interface and Features of OBS Studio
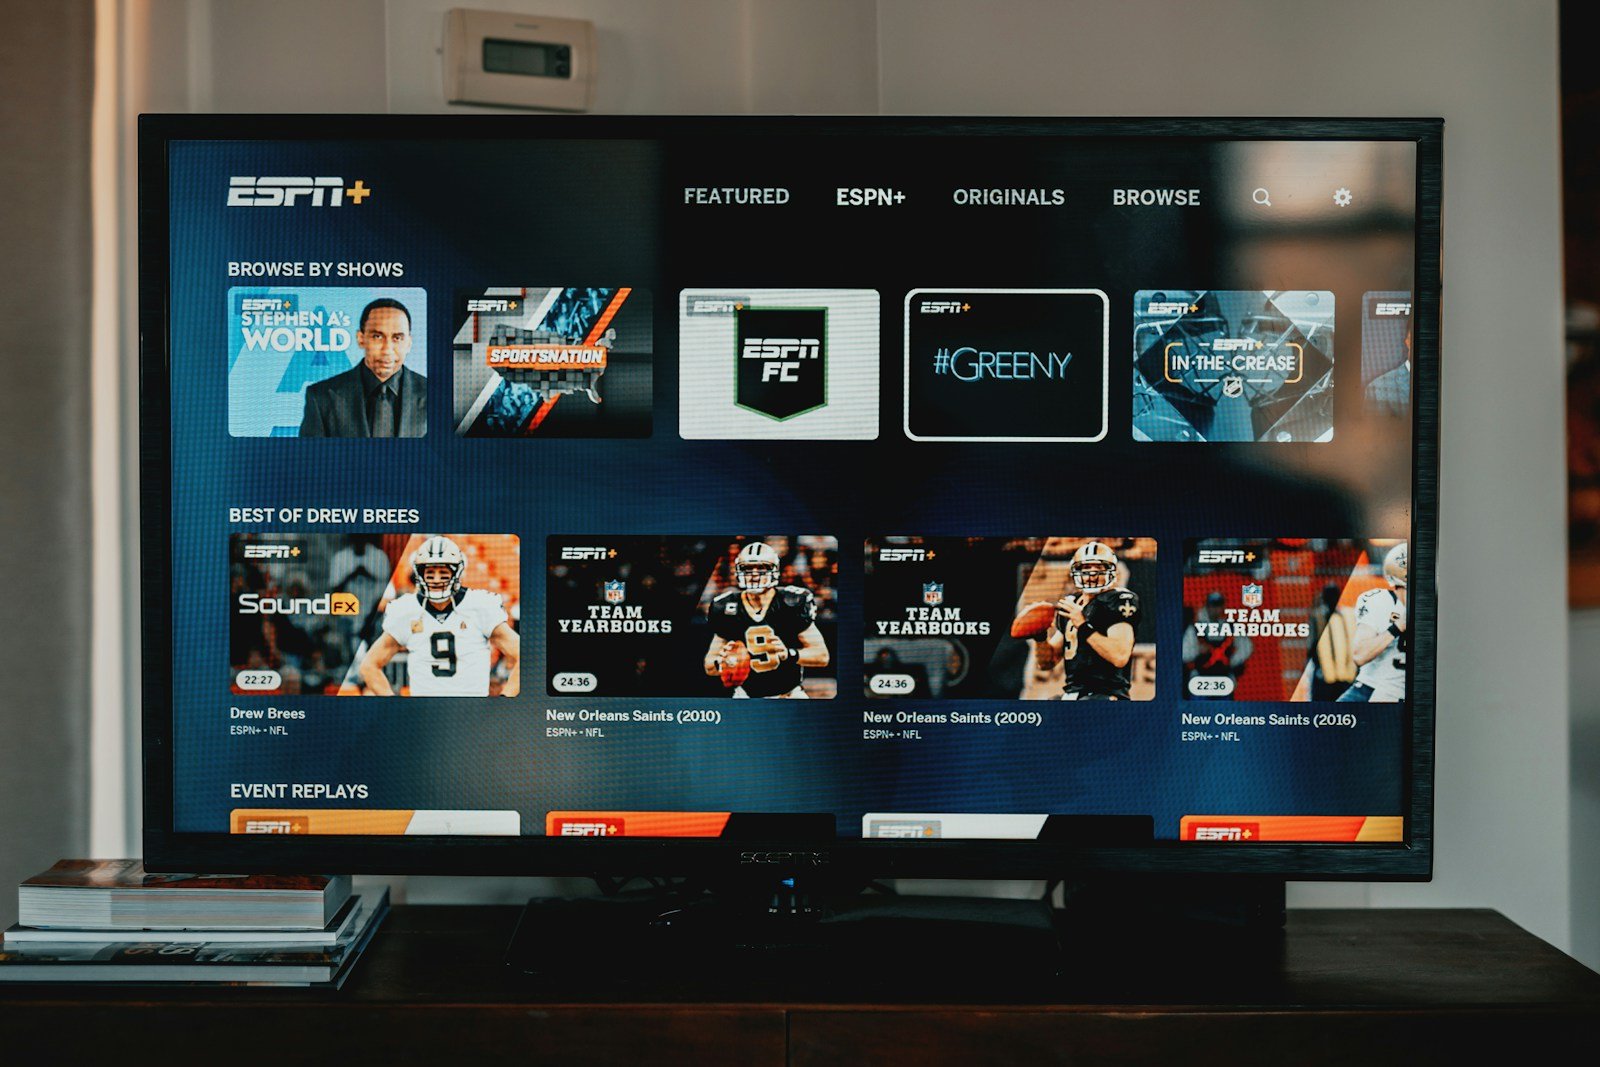
One of the standout features of OBS Studio is its support for a wide range of sources, including capture cards, webcams, window captures, images, text, and browser windows. This allows you to create dynamic and engaging broadcasts that can include anything from your gameplay footage to viewer comments.
System Requirements for OBS Studio
OBS Studio’s system requirements are relatively modest, making it accessible to a broad range of users. While the exact requirements will depend on your streaming or recording settings, a Windows 7 operating system (or later), a DirectX 10.1 compatible GPU, and a dual-core processor are the basic requirements. For Mac users, a macOS 10.13 or later is required, while Linux users will need a version equivalent to Ubuntu 14.04 or later.
Downloading and Installing OBS Studio
Downloading and installing OBS Studio is a straightforward process. You can download the software from the official OBS Project website or other platforms like Steam. The installation process is as simple as running the installer and following the prompts. Remember to check the system requirements before installation to ensure a smooth and hassle-free experience
In the next sections, we’ll delve deeper into setting up OBS Studio for live streaming and video recording, providing you with detailed guides and tips to help you make the most of this powerful tool. So, stay tuned!
Setting Up OBS Studio
Setting up OBS Studio is like setting up your own personal broadcasting station. It’s a process that requires a bit of time and patience, but the payoff is well worth it. Let’s walk you through the process, step by step.
Step-by-step Guide to Setting Up OBS Studio
First things first, you’ll need to download OBS Studio. You can grab the installer from the official OBS Project website or other platforms like Steam. Once downloaded, run the installer and follow the prompts. It’s as easy as pie!
Understanding Scenes and Sources in OBS Studio
Now that you’ve got OBS Studio installed, it’s time to get familiar with its interface. The main elements you’ll be working with are scenes and sources. Think of scenes as different “sets” for your broadcast. Each scene can contain multiple sources, which are the various audio, video, and image inputs that make up your broadcast. For example, you could have a scene for your gameplay footage (with the game capture as the source) and another scene for chatting with your viewers (with your webcam and microphone as the sources).
OBS Studio Guide - Configuring Audio and Video Settings
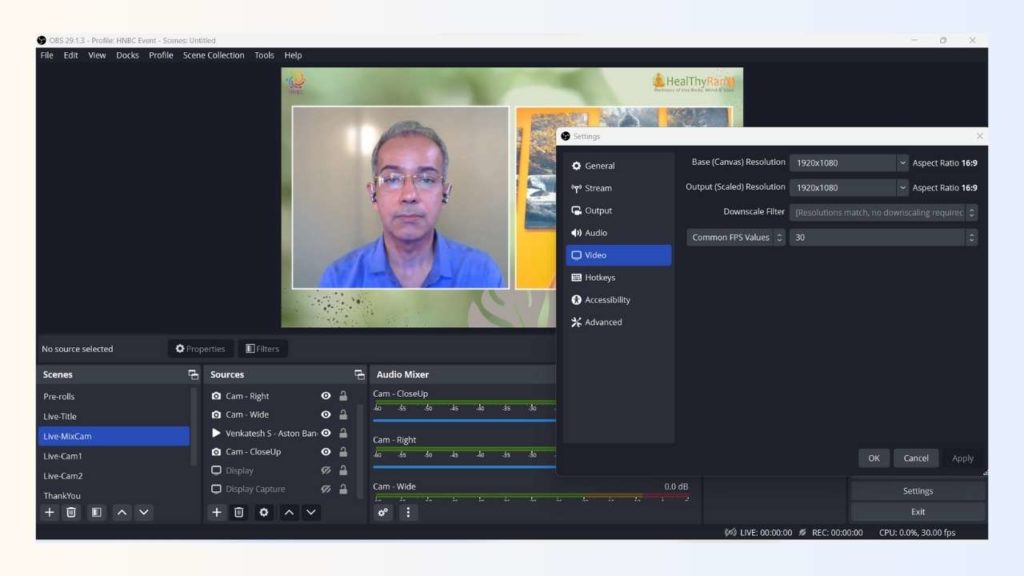
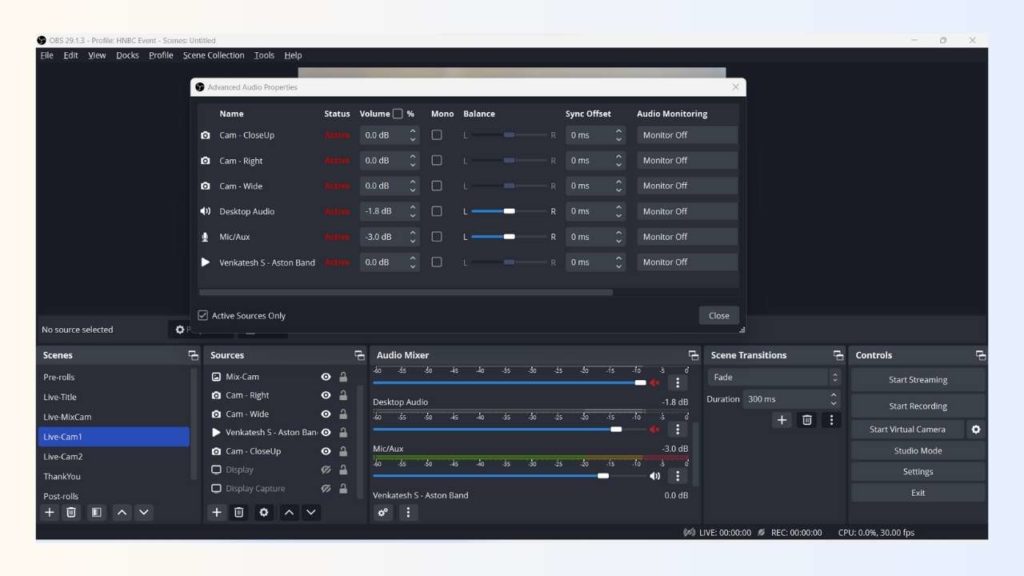
Configuring your audio and video settings is a crucial step in the setup process. OBS Studio provides a wealth of options here, allowing you to fine-tune your broadcast to your liking. For video settings, you’ll want to consider factors like resolution, frame rate, and encoding quality. For audio, you’ll need to set up your microphone and desktop audio, and you may also want to explore options like noise suppression and gain control.
Using OBS Studio for Live Streaming
Now that you’ve got OBS Studio set up, it’s time to take your show live! Live streaming with OBS Studio is a breeze once you’ve got the basics down.
How to Live Stream with OBS Studio
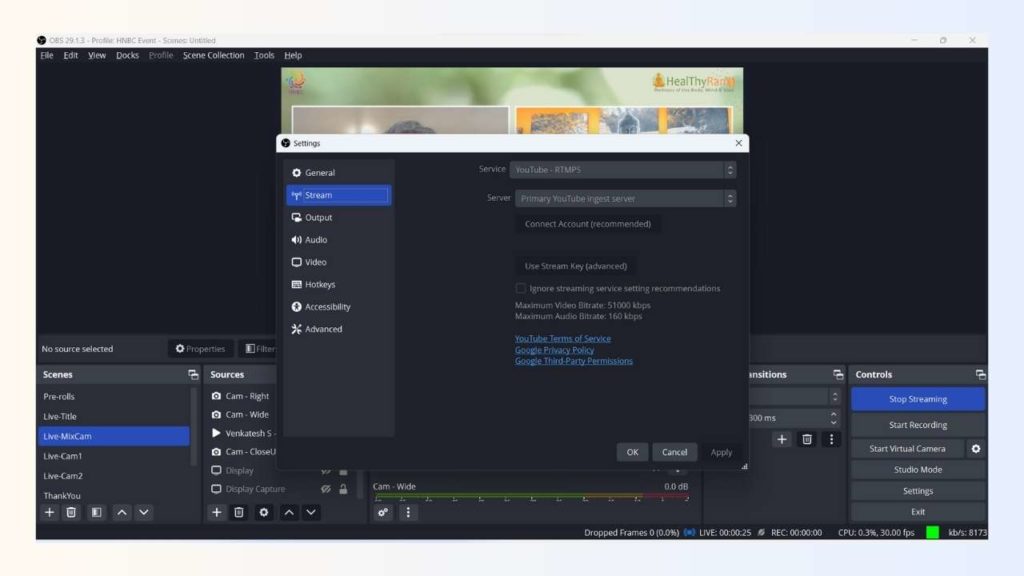
To start a live stream, you’ll first need to connect OBS Studio to your streaming platform of choice. Whether you’re broadcasting on Twitch, YouTube, or another platform, the process is fairly similar. You’ll need to get your stream key from the platform and enter it into OBS Studio. This key is like the password to your live stream, so keep it safe!
Connecting OBS Studio to Streaming Platforms
Once you’ve got OBS Studio connected to your streaming platform, starting your live stream is as simple as clicking the “Start Streaming” button. But before you go live, you’ll want to make sure everything is set up correctly. Use the preview feature to check your scenes and sources, and make sure your audio levels are where they should be.
Tips for Successful Live Streaming
Live streaming is both an art and a science, and success often comes down to more than just having the right software. Here are a few tips for successful live streaming:
- Engage with your audience: Live streaming is a two-way street. Make sure to interact with your viewers, whether it’s responding to chat messages or asking for feedback.
- Test your stream: Before you go live, do a test stream to make sure everything is working correctly. This can help you catch any issues before they affect your live broadcast.
- Be consistent: Like any form of content creation, consistency is key. Try to stick to a regular streaming schedule to keep your audience engaged and coming back for more.
Using OBS Studio for Video Recording
While OBS Studio is often associated with live streaming, it’s also a powerful tool for video recording. Whether you’re creating a tutorial, recording gameplay, or capturing a video call, OBS Studio has got you covered.
How to Record Videos with OBS Studio
Recording videos with OBS Studio is a breeze. Once you’ve set up your scenes and sources (as we discussed in the previous section), you’re ready to start recording. Simply click the “Start Recording” button, and OBS Studio will begin capturing video based on your current scene setup. When you’re done, click “Stop Recording”, and your video will be saved to your designated output folder.
Configuring Recording Settings
Configuring your recording settings is an essential step to ensure high-quality video output. OBS Studio offers a range of settings to fine-tune your recordings. You can choose your output format (MP4, MKV, FLV, etc.), select your encoder, and adjust your bitrate to balance quality and file size. You can also set your audio bitrate and format, and choose whether to use multiple audio tracks.
Tips for High-Quality Video Recording
Here are a few tips for high-quality video recording with OBS Studio:
- Use a high resolution: The higher your resolution, the better your video quality. However, keep in mind that higher resolutions require more processing power and result in larger file sizes.
- Choose the right frame rate: A higher frame rate can make your video smoother, but it also requires more processing power. For most purposes, 30 frames per second (fps) is sufficient.
- Test your settings: Before you start recording, do a test recording to make sure your settings are producing the desired results.
OBS Studio Guide - Troubleshooting Common Issues in OBS Studio
Even with the best software, things can sometimes go awry. But fear not, for we are here to guide you through some common issues you might encounter while using OBS Studio and how to solve them.
Common Problems and Their Solutions
One common problem is lag or stuttering in the video output. This can often be resolved by adjusting your settings, such as lowering your resolution or frame rate, or by updating your graphics drivers.
Another common issue is audio problems, such as echo or distortion. This can often be fixed by adjusting your audio settings, such as lowering your audio bitrate or disabling unnecessary audio sources.
Where to Find Help and Support for OBS Studio
If you’re having trouble connecting OBS Studio to your streaming platform, make sure you’ve entered your stream key correctly. If you’re still having issues, it might be a problem with the streaming platform itself, so check their status page for any ongoing issues.
If you’re still having trouble, don’t despair! The OBS Studio community is a fantastic resource for help and support. You can find a wealth of information on the OBS Project website, including a comprehensive help portal and active user forums. You can also check out the OBS Studio subreddit or the OBS Project GitHub page for more technical issues.
Remember, every problem has a solution, and with a bit of patience and perseverance, you’ll be back to broadcasting in no time!
FAQs about OBS Studio
As we journey through the world of OBS Studio, it’s natural to have a few questions. Here are some of the most frequently asked questions about OBS Studio.
Is OBS Studio free?
Yes, OBS Studio is absolutely free! It’s an open-source project, which means it’s developed by a community of volunteers and is available for anyone to use at no cost. You can download it, use it, and even contribute to its development if you’re so inclined.
What is the purpose of OBS Studio?
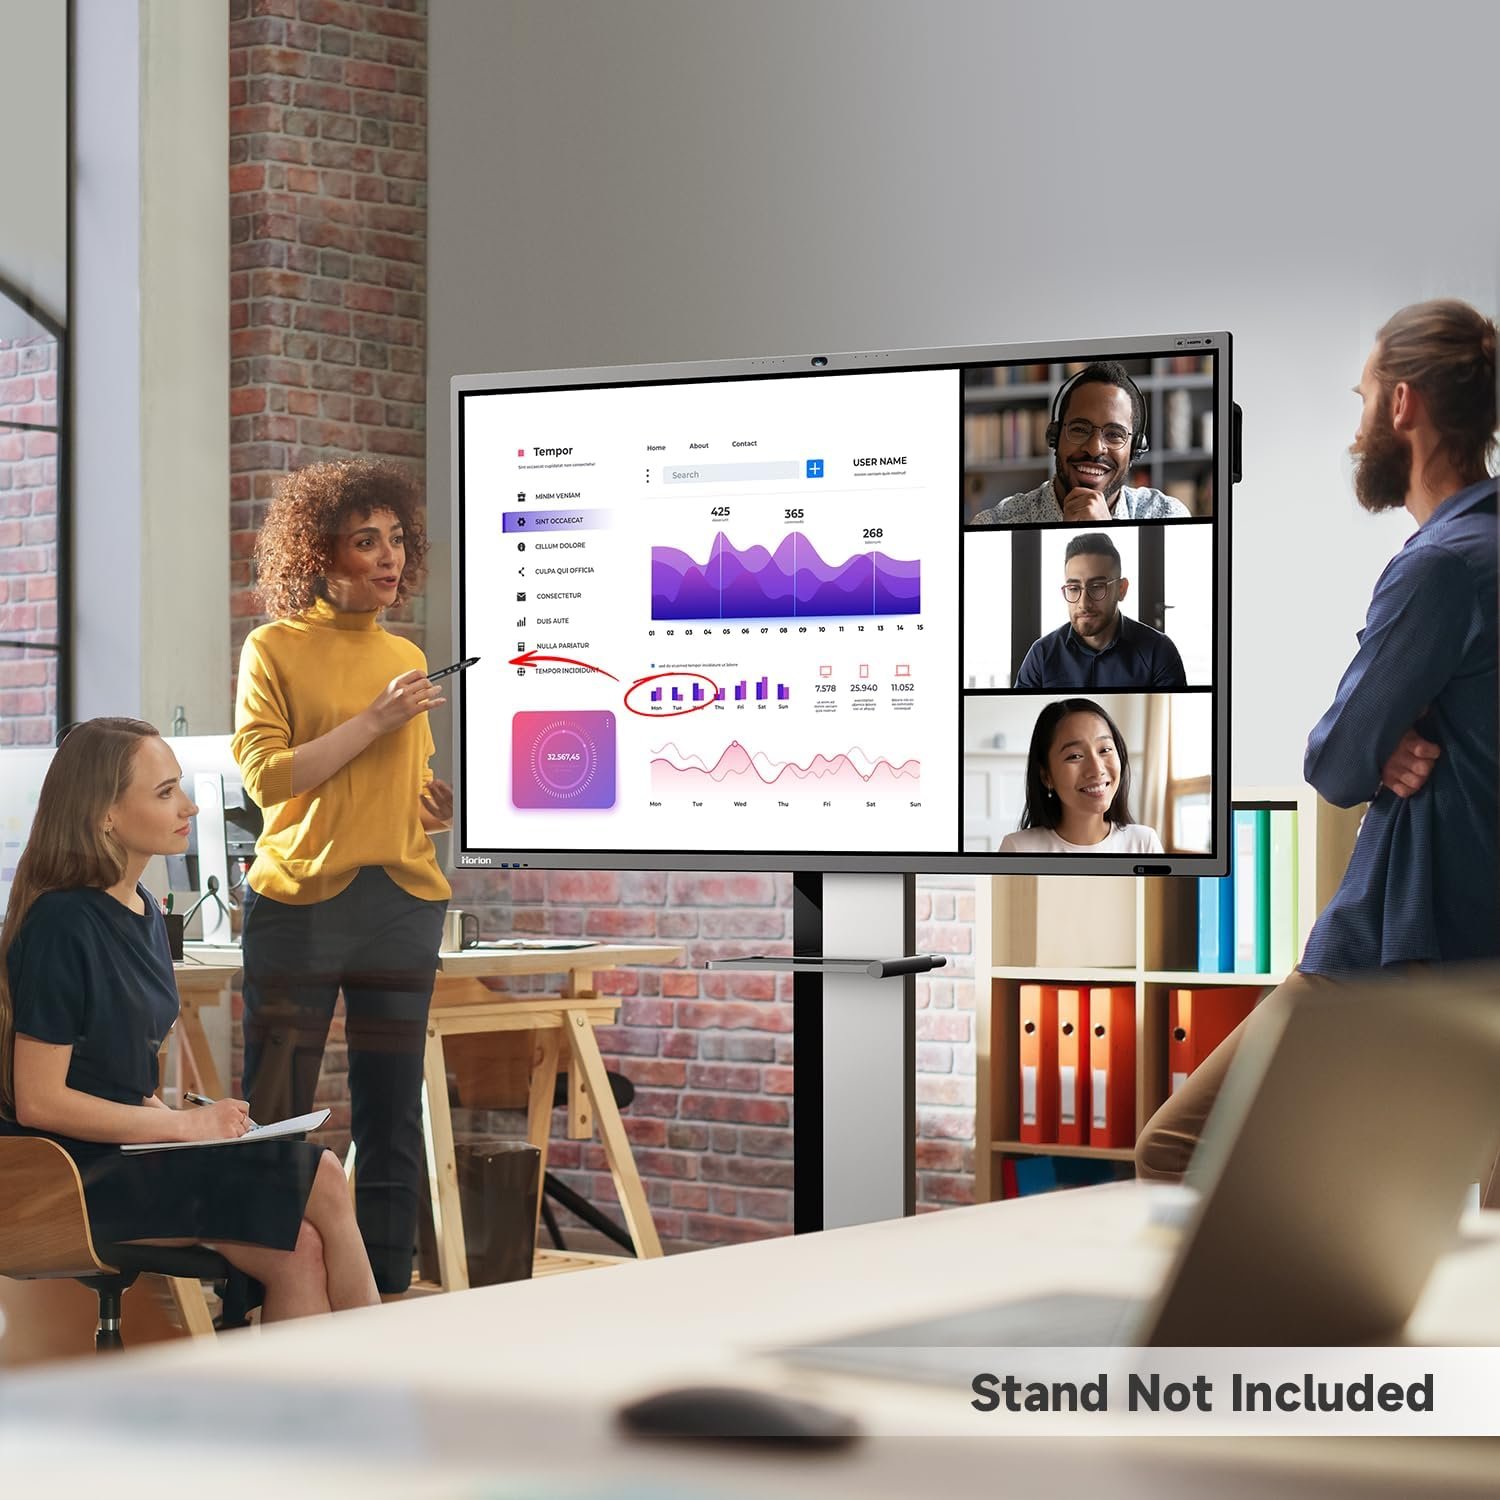
The primary purpose of OBS Studio is to provide a powerful yet accessible tool for live streaming and video recording. Whether you’re a gamer broadcasting your latest playthrough, a teacher conducting an online class, or a business hosting a webinar, OBS Studio has the features and flexibility to meet your needs.
Is OBS Studio safe?
Absolutely! OBS Studio is safe to use. As an open-source project, its code is publicly available for review, which helps ensure transparency and security. However, as with any software, it’s important to download OBS Studio from a trusted source (like the official OBS Project website or a reputable platform like Steam) to avoid any potential issues.
How to use OBS Studio with Discord?
Using OBS Studio with Discord is a great way to enhance your online interactions. You can use OBS Studio to capture your screen or specific windows (like your Discord chat), and then broadcast or record that footage. This can be useful for things like live streaming a Discord conversation or recording a video tutorial on how to use Discord.
Conclusion:
In this comprehensive OBS Studio guide, we’ve explored the ins and outs of OBS Studio, from its humble beginnings to its powerful features. We’ve delved into the basics of the software, walked you through setting it up, and provided tips for live streaming and video recording. We’ve also addressed some common issues and answered your burning questions.
But this is just the beginning. OBS Studio is a tool with endless possibilities, limited only by your imagination and creativity. So whether you’re a seasoned broadcaster or a first-time streamer, we encourage you to dive in and start exploring what OBS Studio can do for you.
And if you’re looking to take your live streaming to the next level, we at Virtual Studio are here to help. We offer live streaming services with TV-like production values, helping you create professional, high-quality broadcasts that stand out from the crowd. You can schedule an online meeting with us to discuss your next project and see how we can help you make the most of your live streaming endeavors. Happy broadcasting!
